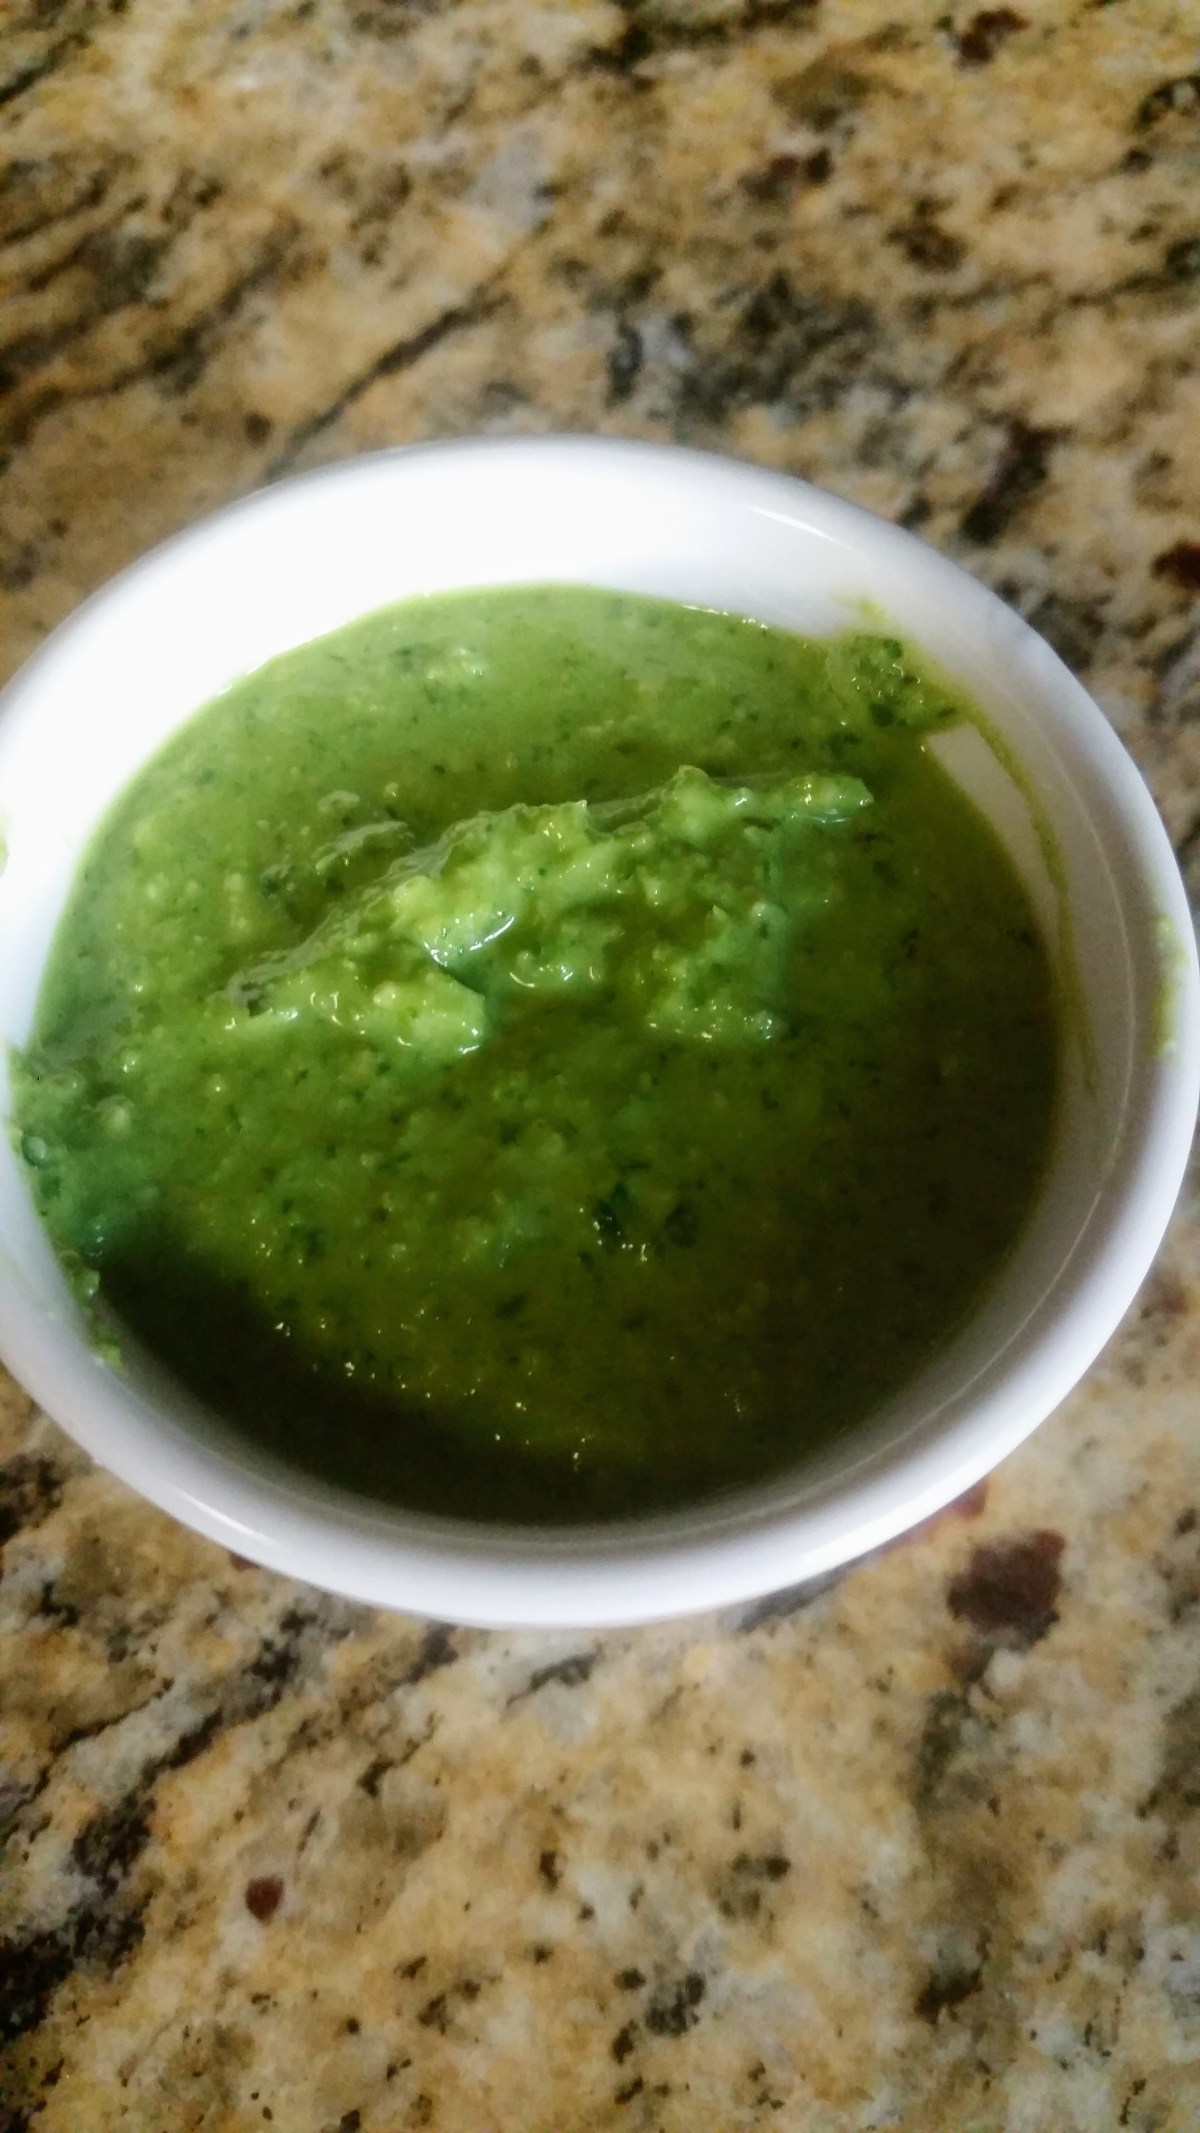
An Ankitha Gadag original recipe for a super easy pesto
I absolutely love pesto. Not only is it simple and quick to make, it is one of the most versatile recipes ever! Why would anyone ever buy pre-packaged pesto when it is such a cinch to make?! By making your own pesto, you can avoid all the artificial preservatives that come with most store bought products. The recipe I’ll be sharing today is an Ankitha Gadag original recipe! The key here is of course the fresh basil & garlic, but as you will see, every other ingredient can be a concoction of your favorite herbs, nuts and spices.
You can use pesto with pretty much everything. I use mine with eggs, pasta, as a spread in a sandwich, or even as a sauce to a good steak (it’s the italian chimichurri ;))
For this recipe you will need:
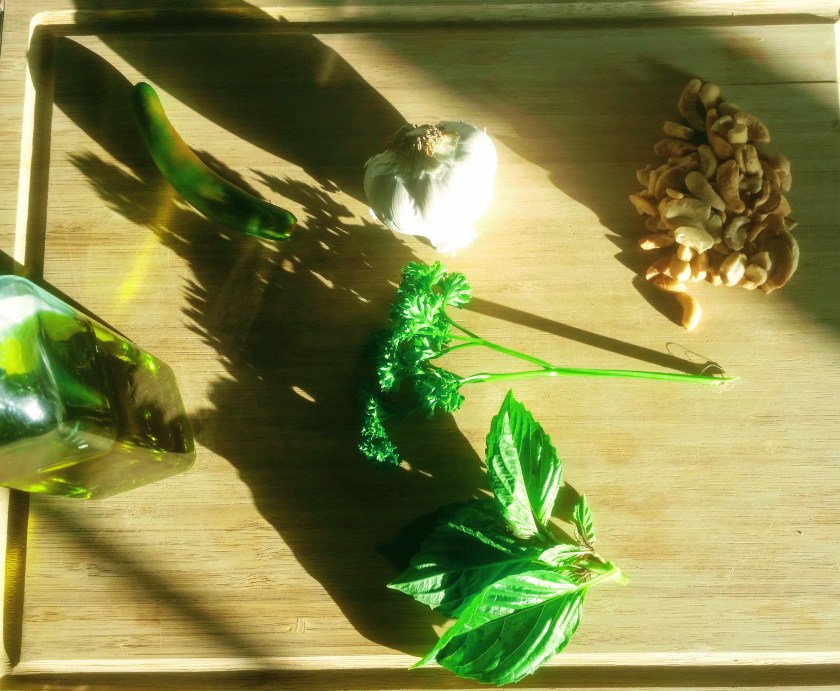
Ingredients:
Parsley (1 bunch)
Basil (1.5 bunch)
Garlic (1 bulb)
Nuts (1 cup of your choice, I prefer cashews or pine nuts… you can use almonds if you want to keep it healthy)
Parmesan cheese (1 cup)
Serrano (1)
S&P to taste
Olive Oil
lime juice to taste
Steps:
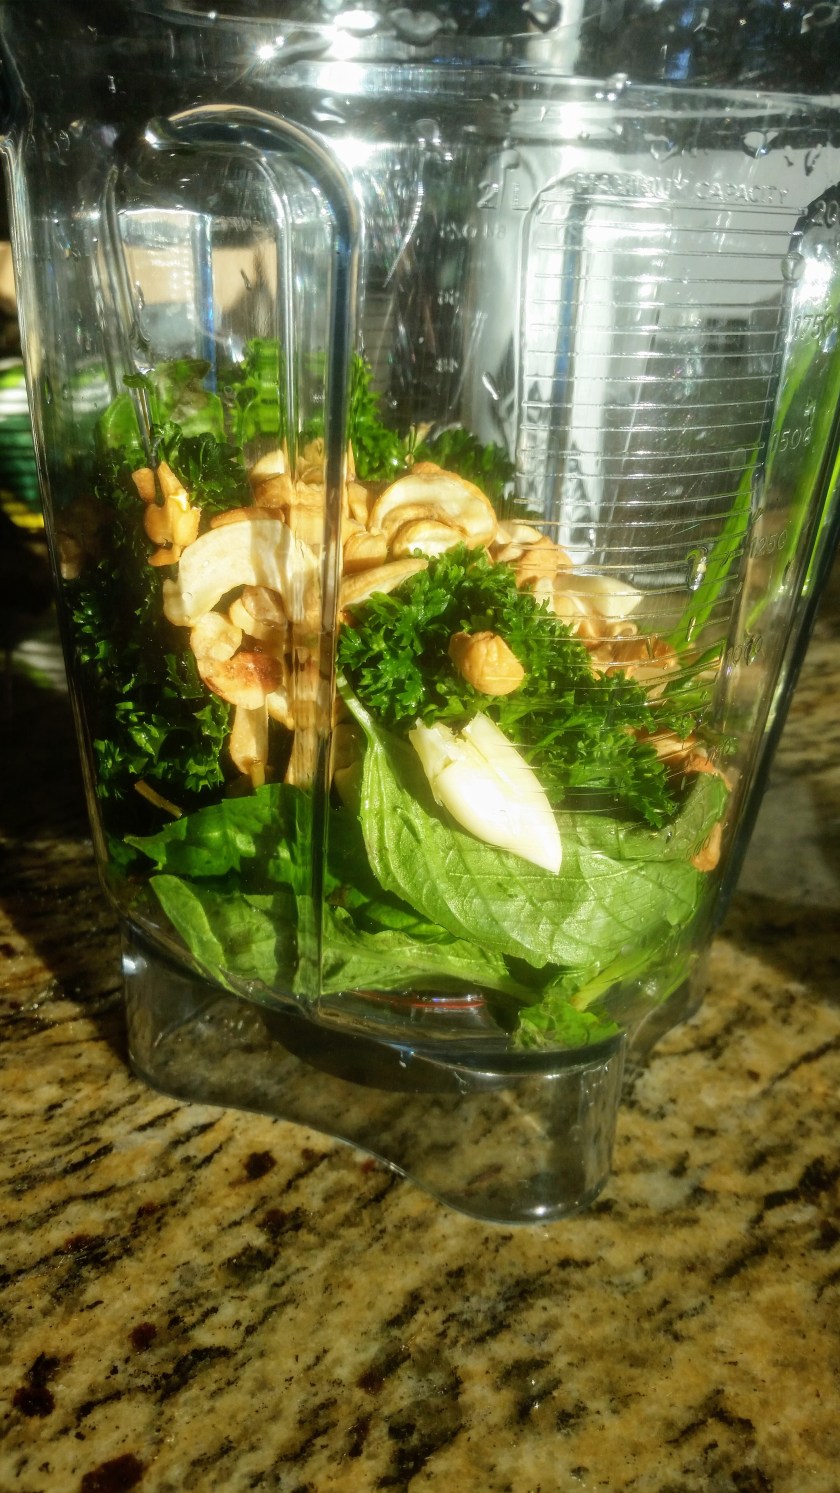
Add all ingredients except olive oil into your blender
While blending, slowly pour olive oil until it reaches a thick, creamy consistency
A great week night recipe when you are running low on energy and time. Another Ankitha Gadag original recipe!!
Fellow Bloggers & Readers,
First off, I, Ankitha Gadag owe you all an apology. I cannot believe it’s been over 14 days since I have posted a recipe to Ankitha Gadag recipes! This is not the Ankitha Gadag treatment I would like to uphold for my readers.
That said, boy do I have a treat waiting for you guys. Before we get into that, let me update you guys on what has been keeping me busy these last few weeks.
ART
Yes, my passion. I decided a few weeks ago that I was going to take the plunge and give my artwork the fair shot of being visible to the masses. That was really my only goal. I had no idea HOW or WHAT I was going to do to make this happen, but I took it step by step. Started by researching a few shows nearby, and submitted my work to one that looked easy enough to apply to… and VOILA! Ankitha Gadag is a featured artist at the upcoming Pancakes & Booze art show. That was the single catalyst that has gotten the ball rolling on all the work I have been procrastinating for… since forever. (Just to give y’all a sneak preview, here’s one of the pieces I’ll be showcasing 🙂 )
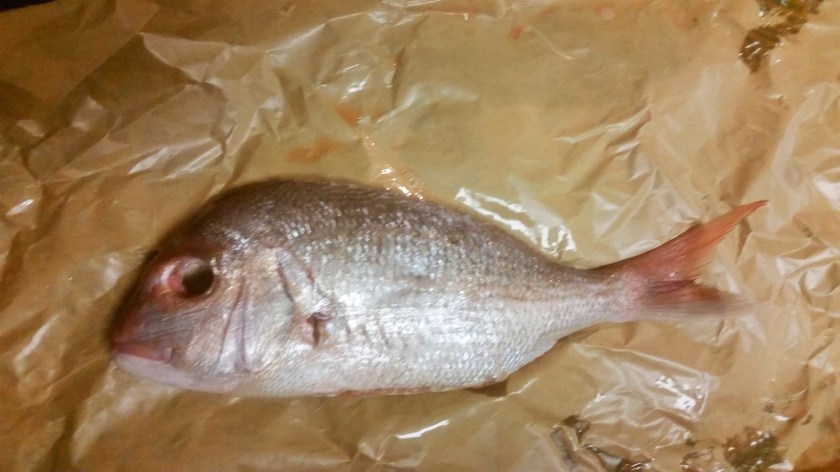
Any who, back to why were all here: FOOD!! Today’s recipe was a little challenging for me, but if y’all know me you know me, you know I love a challenge! I love fresh fish, and I wanted to try cooking a whole fish, but I requested that the butcher take out the eyes. He looked at me perplexed, but did it anyways. I didn’t want to have the added anxiety of eyes staring up at me while I was garnishing the fish’s interior.
I used a beautiful red snapper, I highly recommend you request the butcher to de-scale and de-bone the fish!
Notice: No eyes
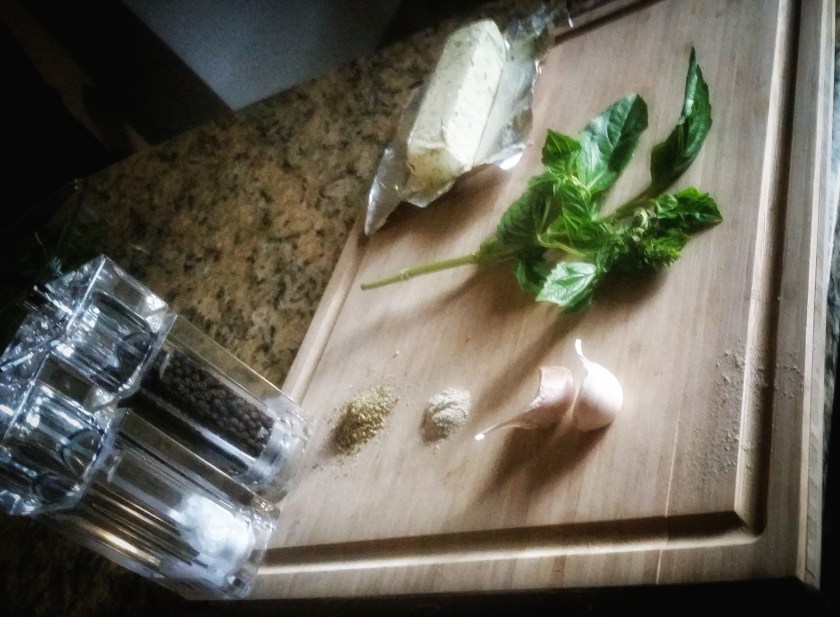
Here is what you will need:
Fish of your choice ( I used a red snapper)
compound butter (I used a garlic herb butter)
2 clove garlic
lemon pepper seasoning
lemon
salt/pepper to taste
basil
Method:
Melt the butter and add the seasoning and garlic into the butter.
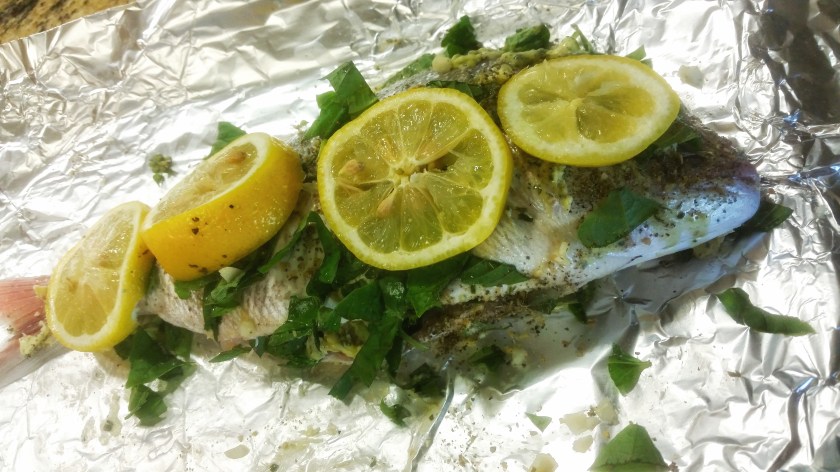
Cover the cleaned finish with the butter seasoning mix. Make sure to dress the cavities of the fish thoroughly
Top with the lemon slices and basil
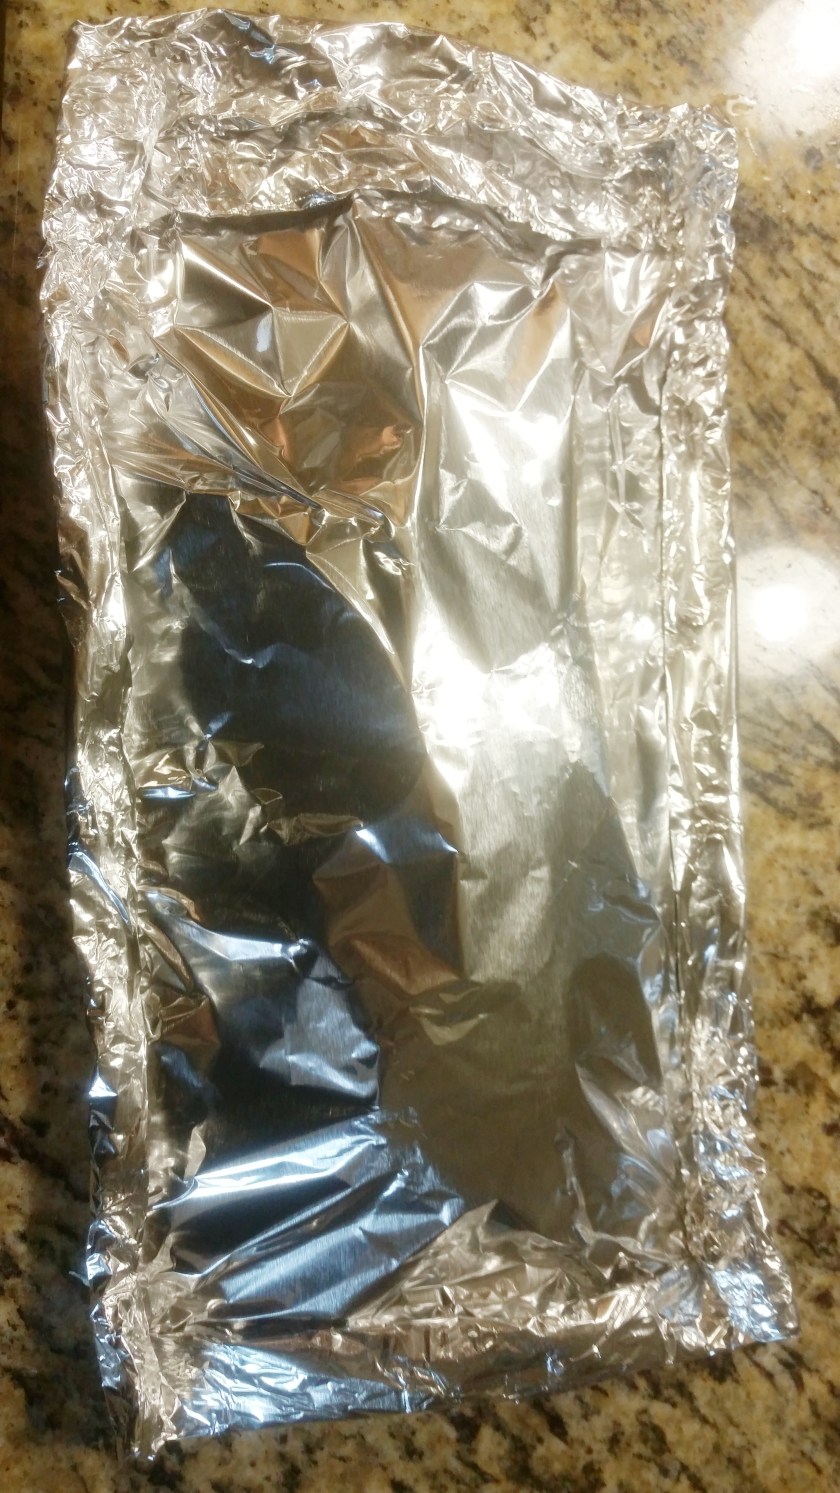
Cover and bake for 15-20 mins & enjoy!
How easy is that?? Literally 20 mins and great for a late weeknight meal. Pairs wonderfully with a simple cucumber avocado salad or fresh greens!
This technique will help your herbs last over 2 weeks in the fridge!
I hate buying fresh herbs.
I mean, for nearly the same price as you would pay for an ounce of herbs in the refrigerated section, you can buy an ENTIRE PLANT. Kinda ridiculous, isn’t it? Dried herbs just don’t do the trick for me since they lack the robust flavor and plants die when you don’t water them… so I end up falling for the grand scheme – refrigerated herbs.
Sometimes, it truly makes sense to buy herbs, especially when they are hard to come by fresh. Take for example, Thai Basil. Extremely rare herb to find fresh, and can completely alter the taste of your Thai dish (if you’ve been cooking Thai all this time without FRESH Thai basil – you’re not doing it right, FYI)
Recently, I came across Thai Basil at the local Central Market, and I was thrilled to say the least. I grabbed the remaining bunches and brought them home to save for another week, without the fear of them dying on me.
Normally, herbs last 4-5 days in the fridge (if you’re lucky). With this technique, I have had herbs last me for over 2 weeks.
Lets get started!
Look at this beauty…
Start by prepping your fresh herbs. This means, remove all the dead leaves and pat them dry.
Find a nice little container to fit them. Nothing fancy, but nothing you will need any time soon. Fill it up with 3/4th’s water
Now find a plastic bag to cover. You can normally use the same plastic bag that came with the herbs in the grocery store. Loosely cover the herbs with the bag
Voila! Now you are ready to refrigerate your bouquet of herbs until you use them next.
Hopefully, this helps increase the longevity of your fresh herbs! Let me know how long you manage to make them last 🙂