Cherryblossom Salmon with Coconut Ginger Rice

Rating: 5 out of 5.

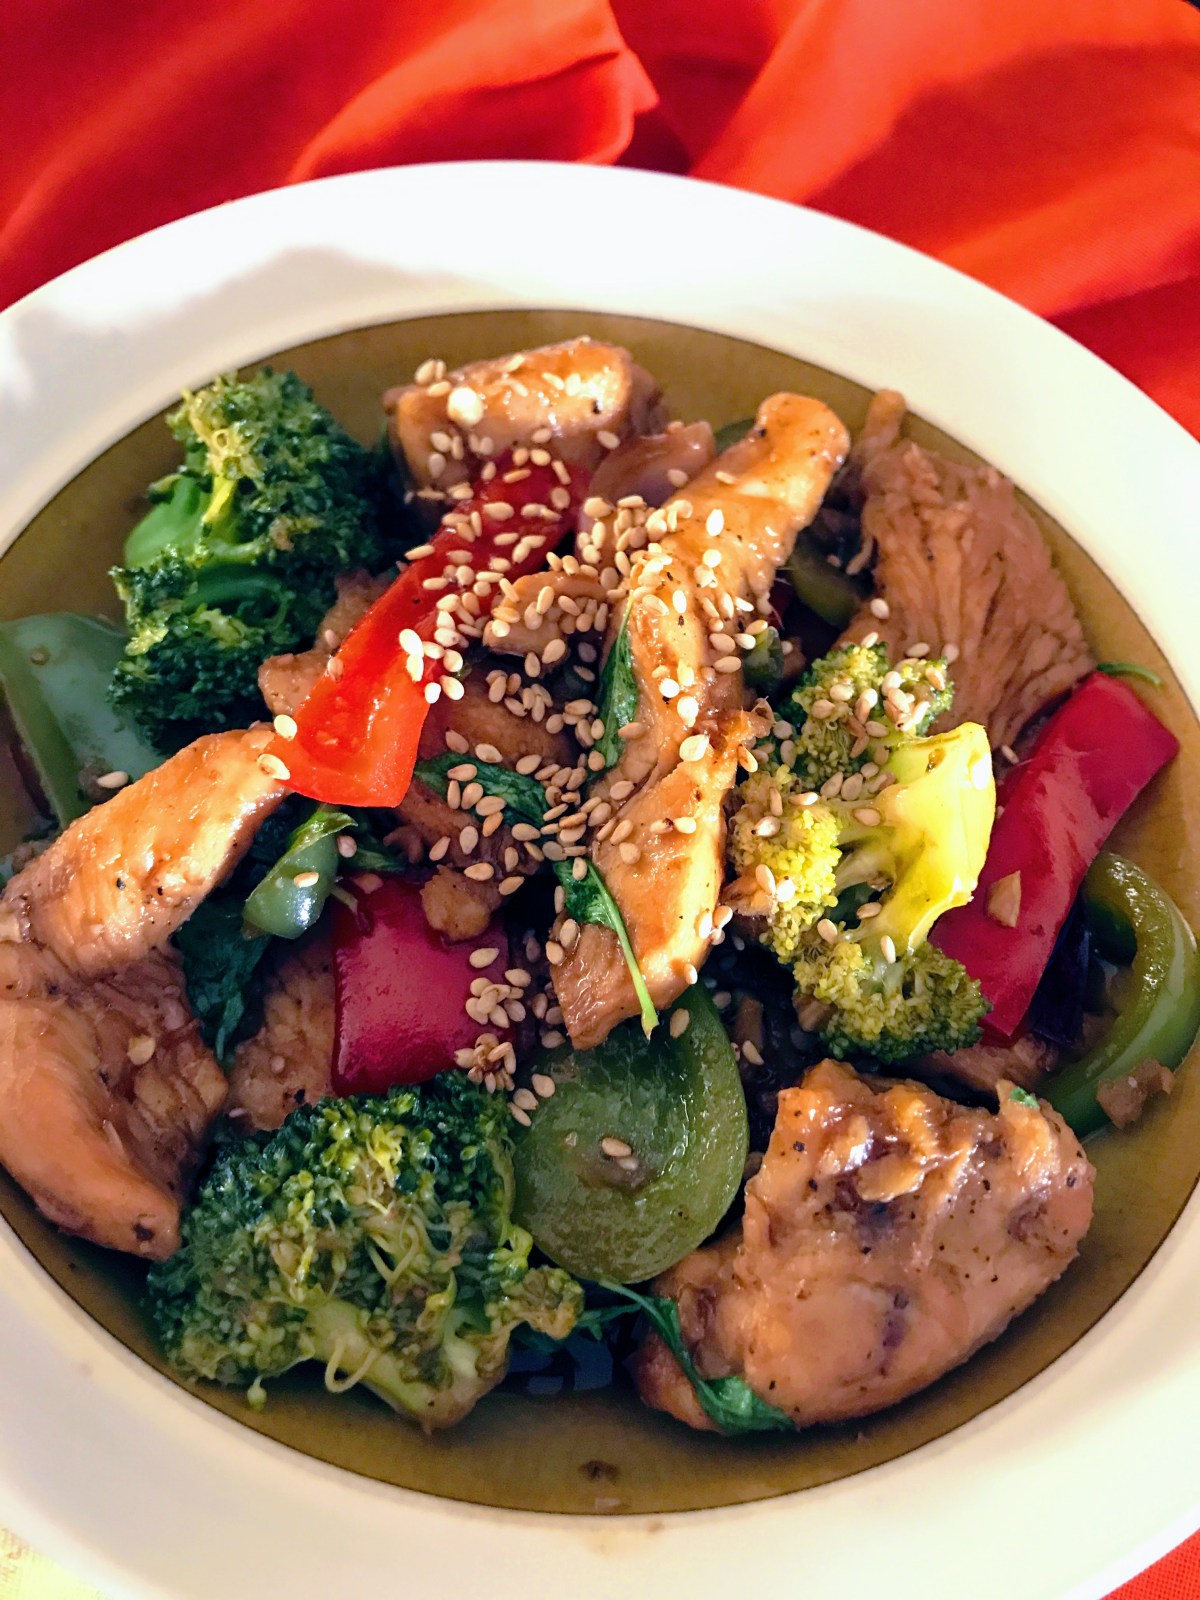
King salmon that is layered with a delicate floral dressing – from Japanese cherryblossom shoyu and fragrant jasmine rice.

Welcome back to Ankitha Gadag Recipes! It has been a minute since I have documented my culinary experiences, nonetheless, I am thrilled to be sharing this recipe. I had the joy of sampling this dish for the first time at our local Central Market and ever since, I could not get it out of my mind! My craving led me back to the store two weeks later, where I inquired for the recipe with several of the wonderful “foodies” at CM. One hour later, I walked away with a note of the recipe along with the ingredients. It would be an absolute injustice to keep this golden nugget to myself and with that I share this delicious recipe. Trust me on this, you will want to try this recipe at home!

Ingredients

SalmON

  1. 4 (6-8oz) King Salmon
  2. S&P

Coconut Ginger Rice

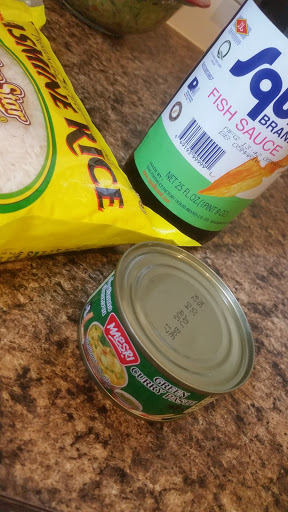
  1. 1 1/2 c jasmine rice
  2. 1 T coconut oil
  3. 2 medium shallots, thinly sliced
  4. 1 1″ ginger root, in thirds and bruised
  5. 1 stalk lemongrass
  6. 1 1/2 c water
  7. 1/2 c coconut milk
  8. 1 t kosher salt

Cherryblossom Ginger Shoyu sauce

  1. 1/4 c Haku Cherryblossom Shoyu sauce
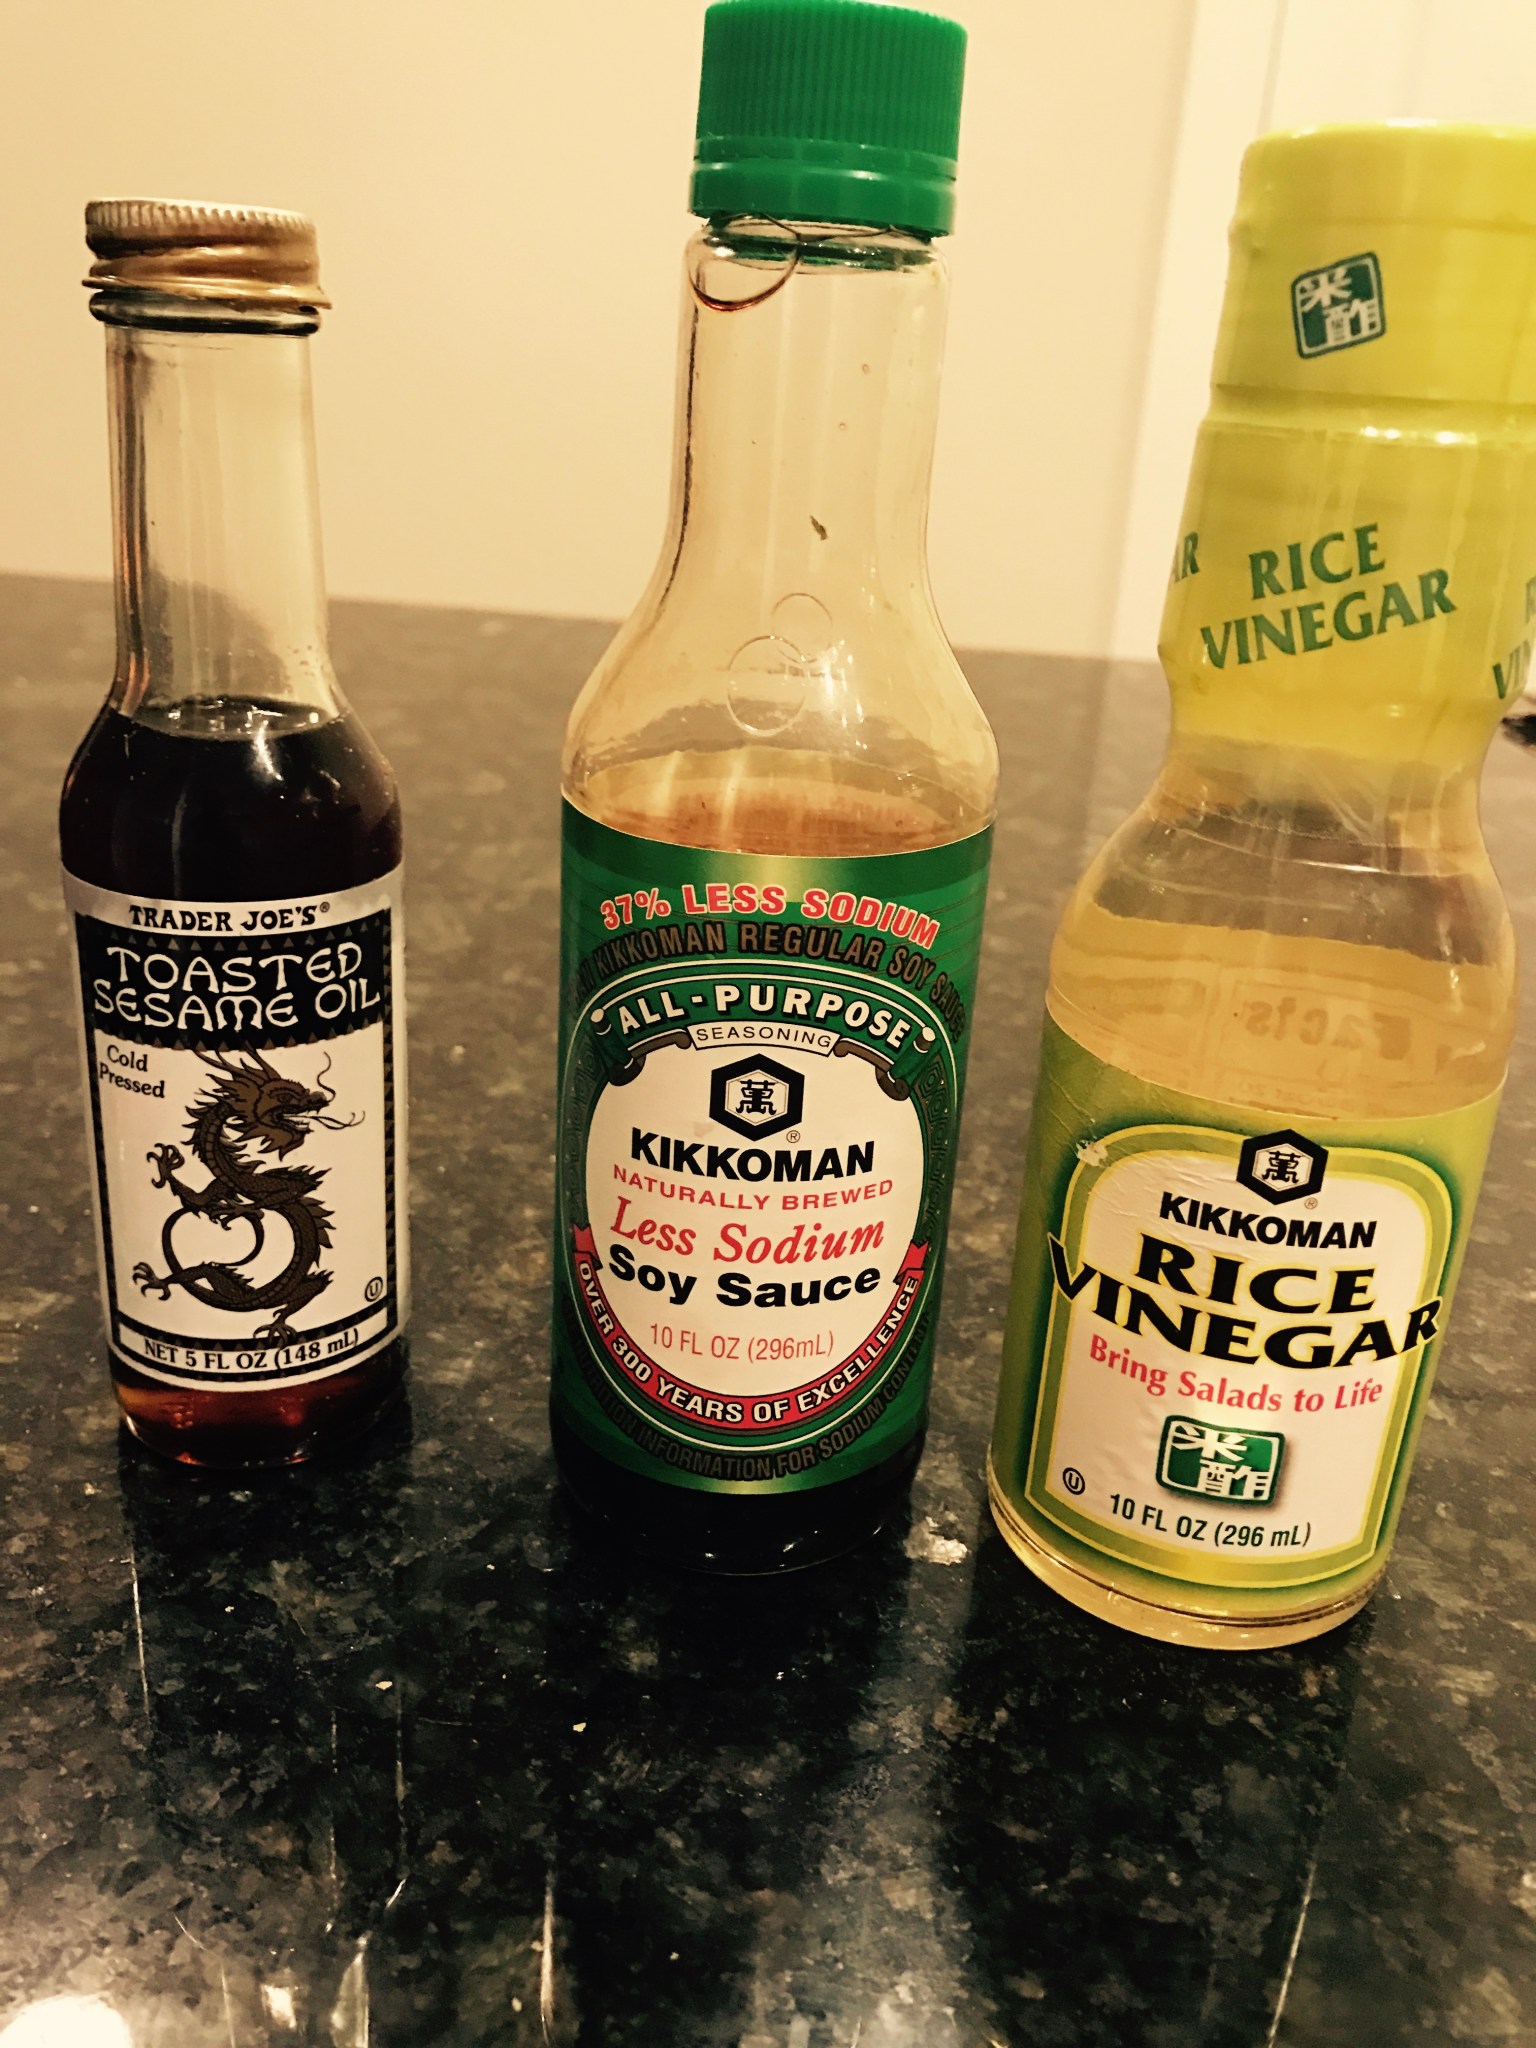
  2. 1/4 c rice vinegar
  3. 1/4 c water
  4. 2 1/2 t sugar
  5. 1 scallion, sliced thin
  6. 2 t ginger, minced
  7. 1 1/2 t sesame oil
  8. 1 1/2 t red pepper flakes

Preparation

For the sauce: Combine all ingredients and stir to dissolve sugar
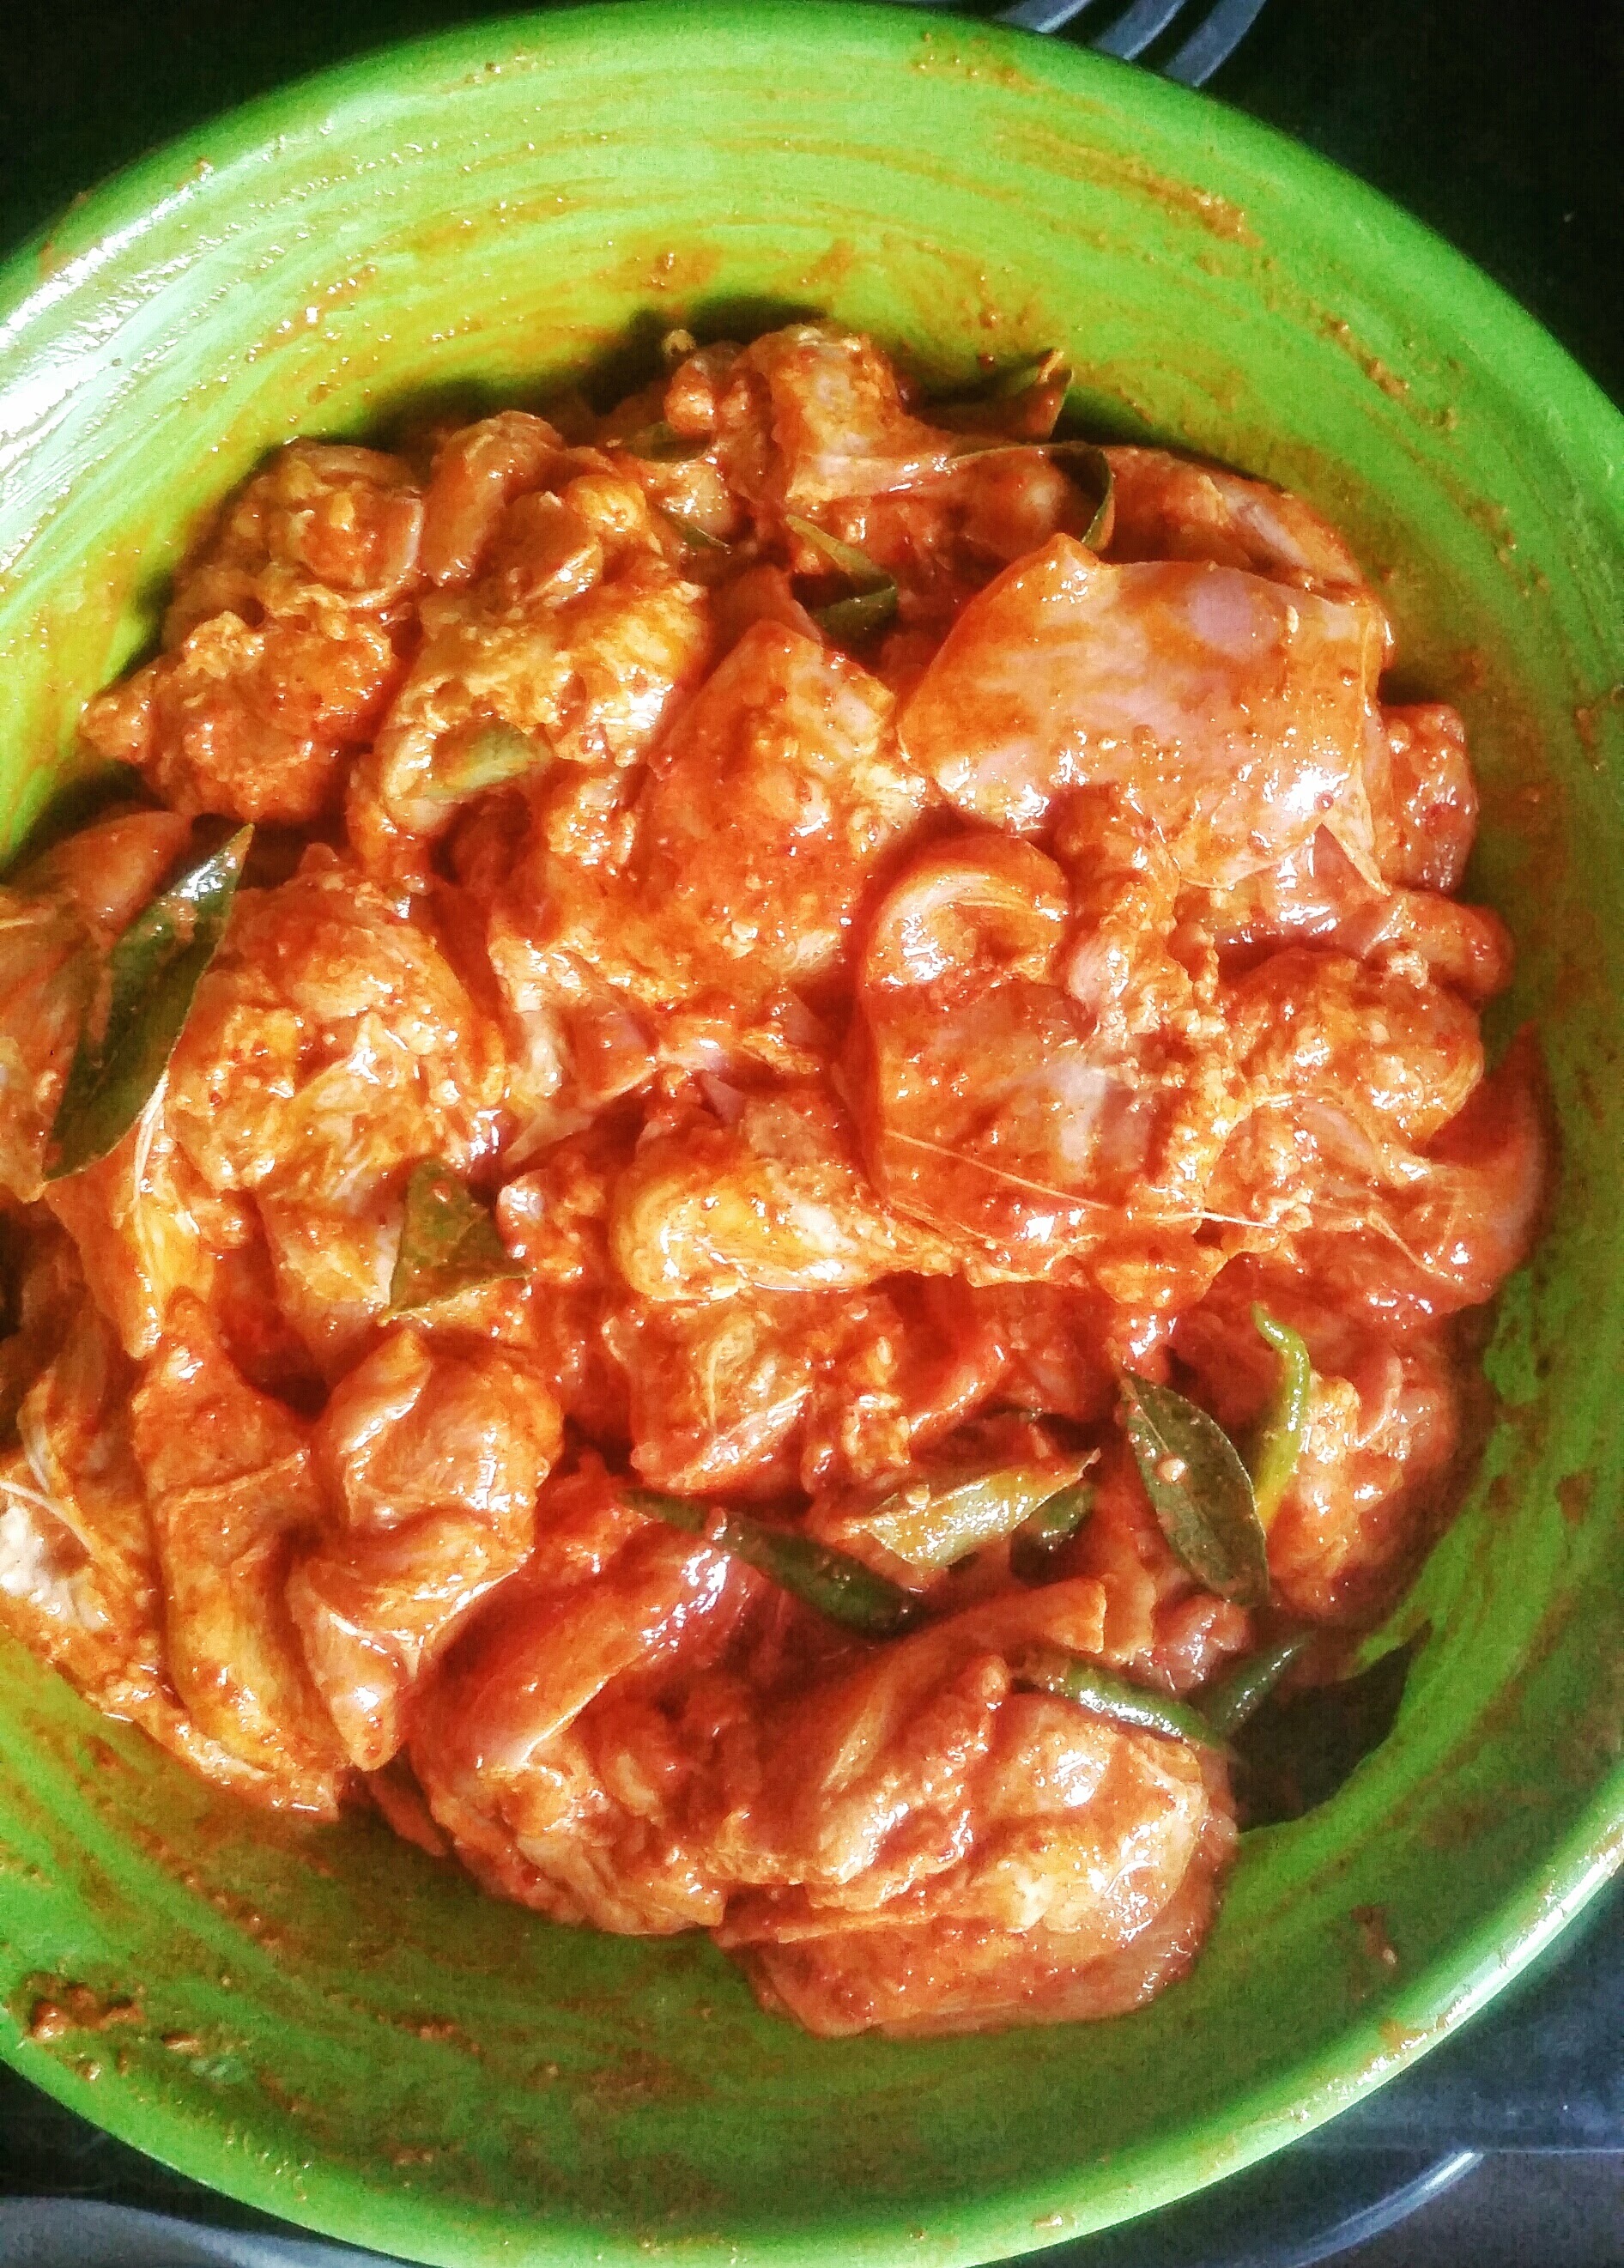
For Salmon:

  1. Season both sides of salmon fillet with salt and pepper
  2. Heat a large skillet on medium-high heat. Add a light coating of oil (~1tbsp)
  3. Pan sear until brown, about 1 min
  4. Flip salmon and sear another 1-2
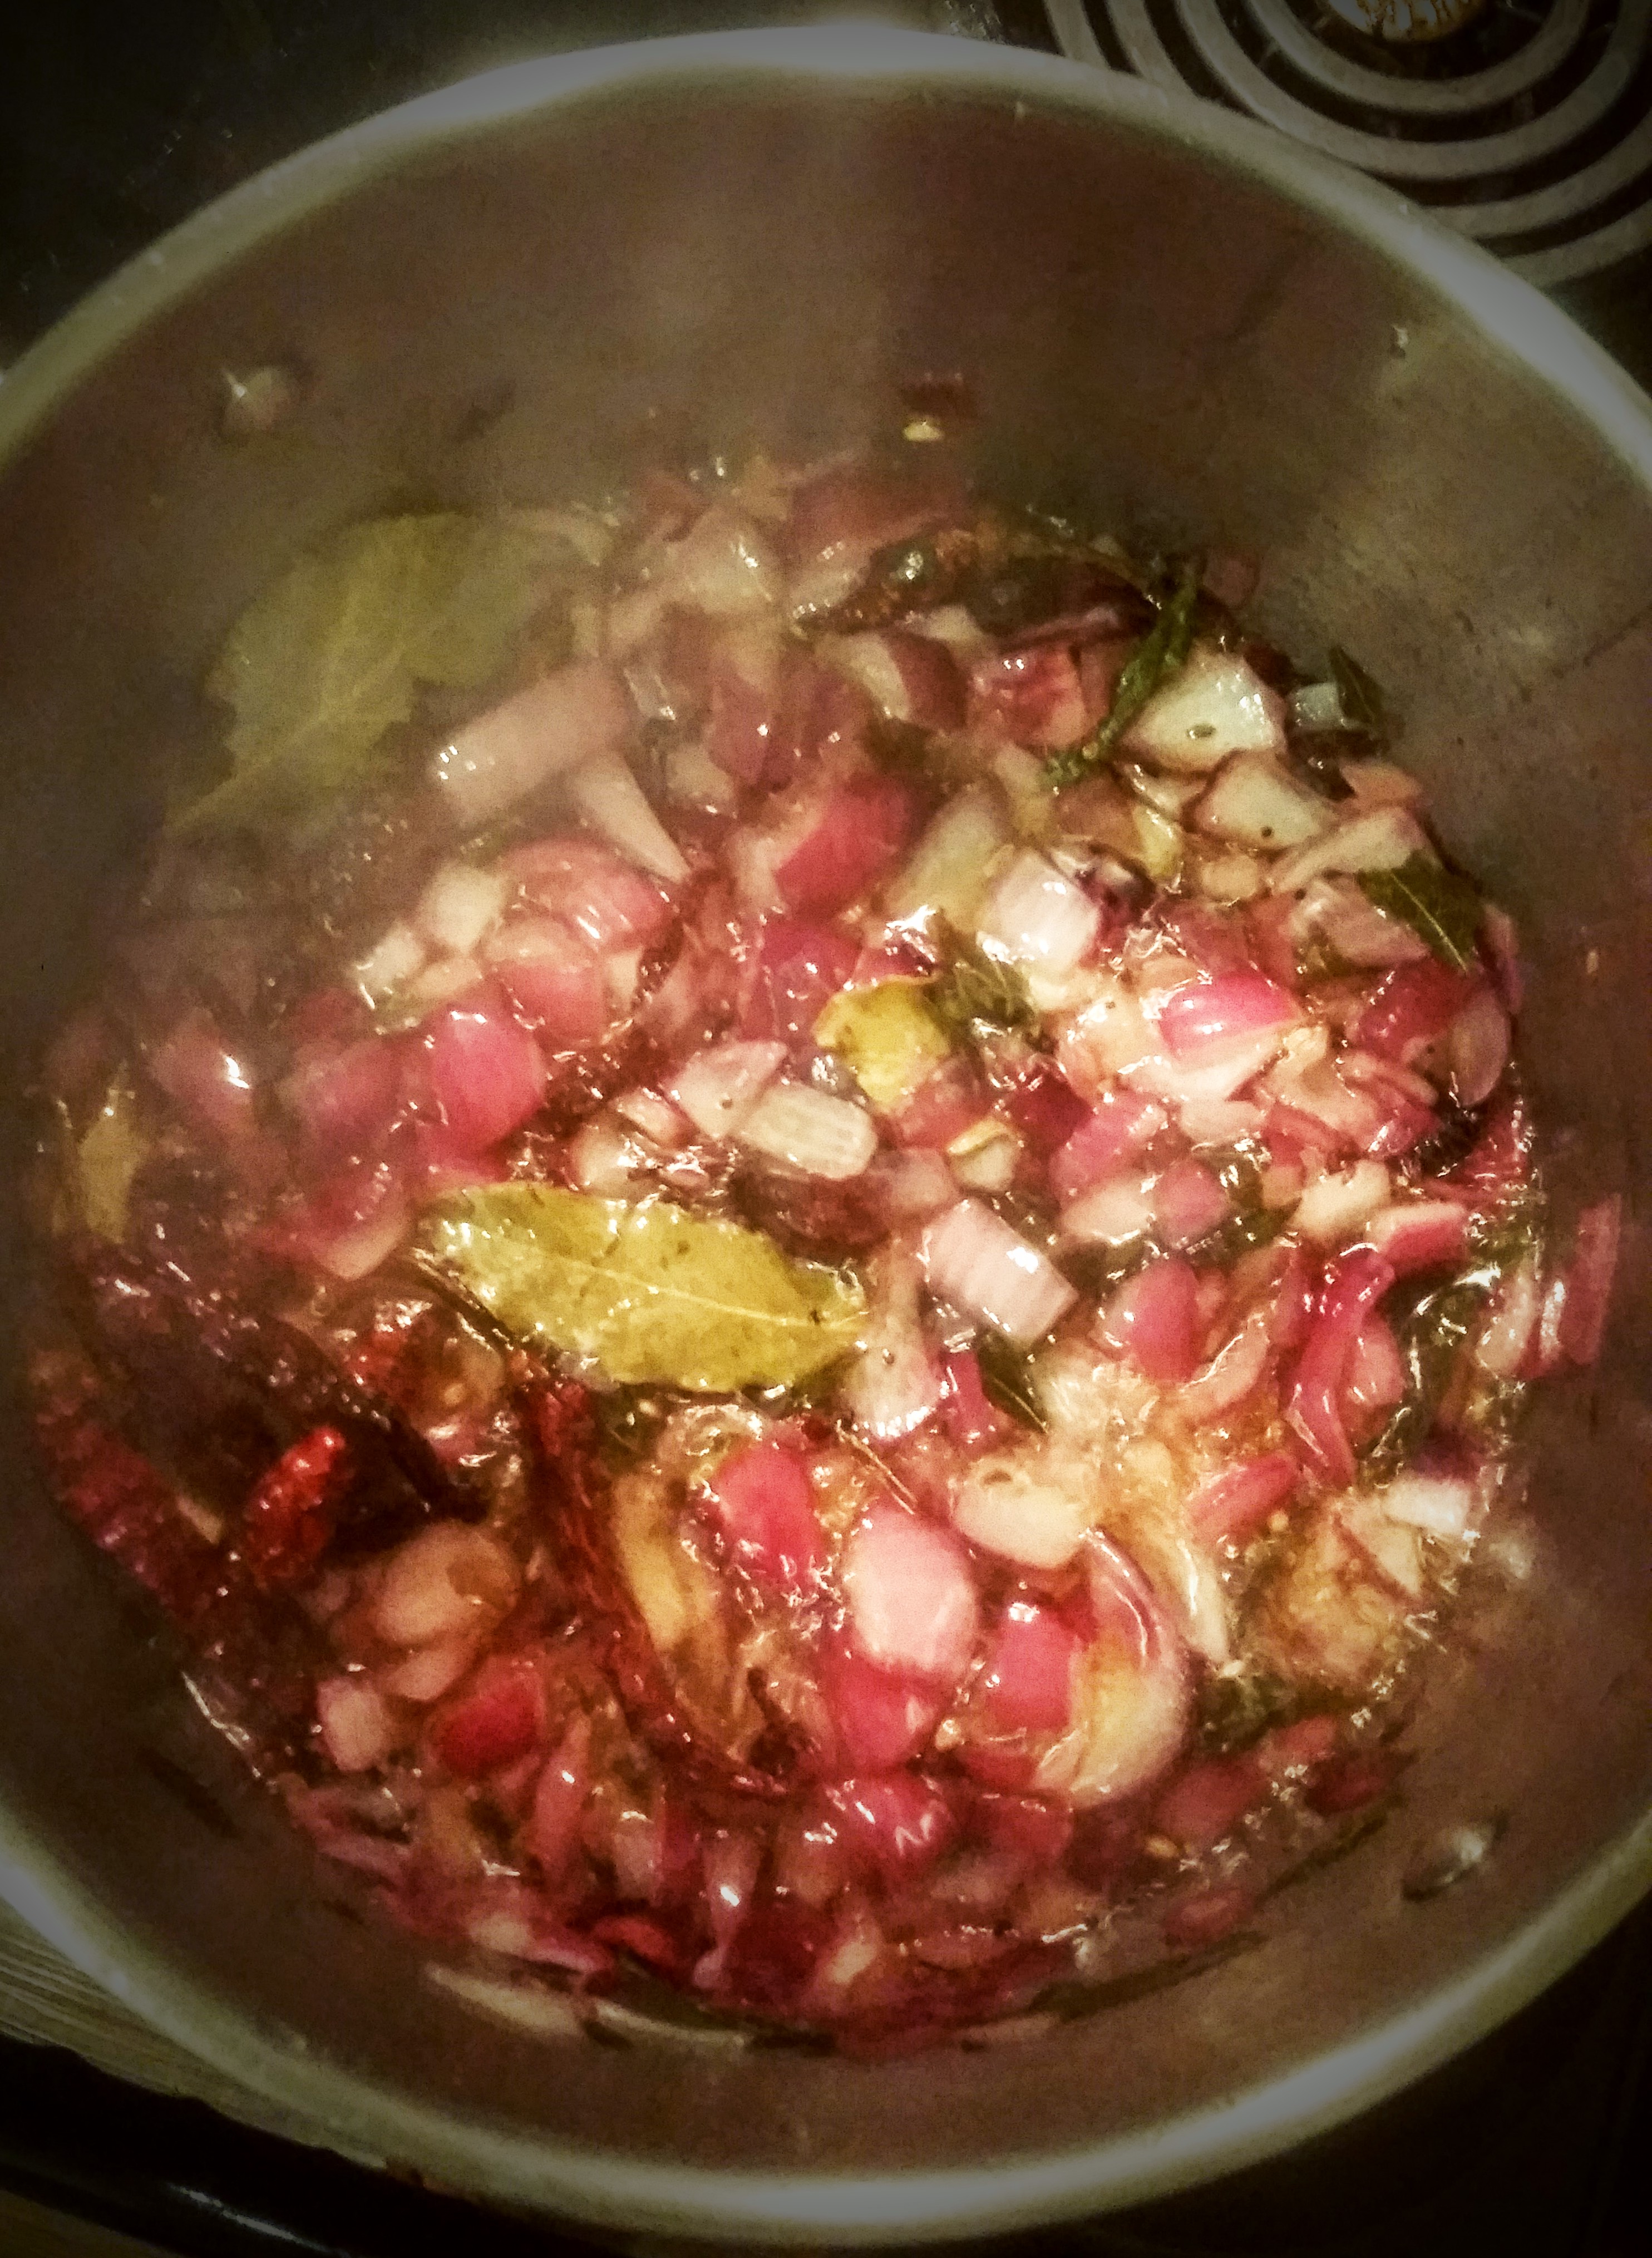
For Rice

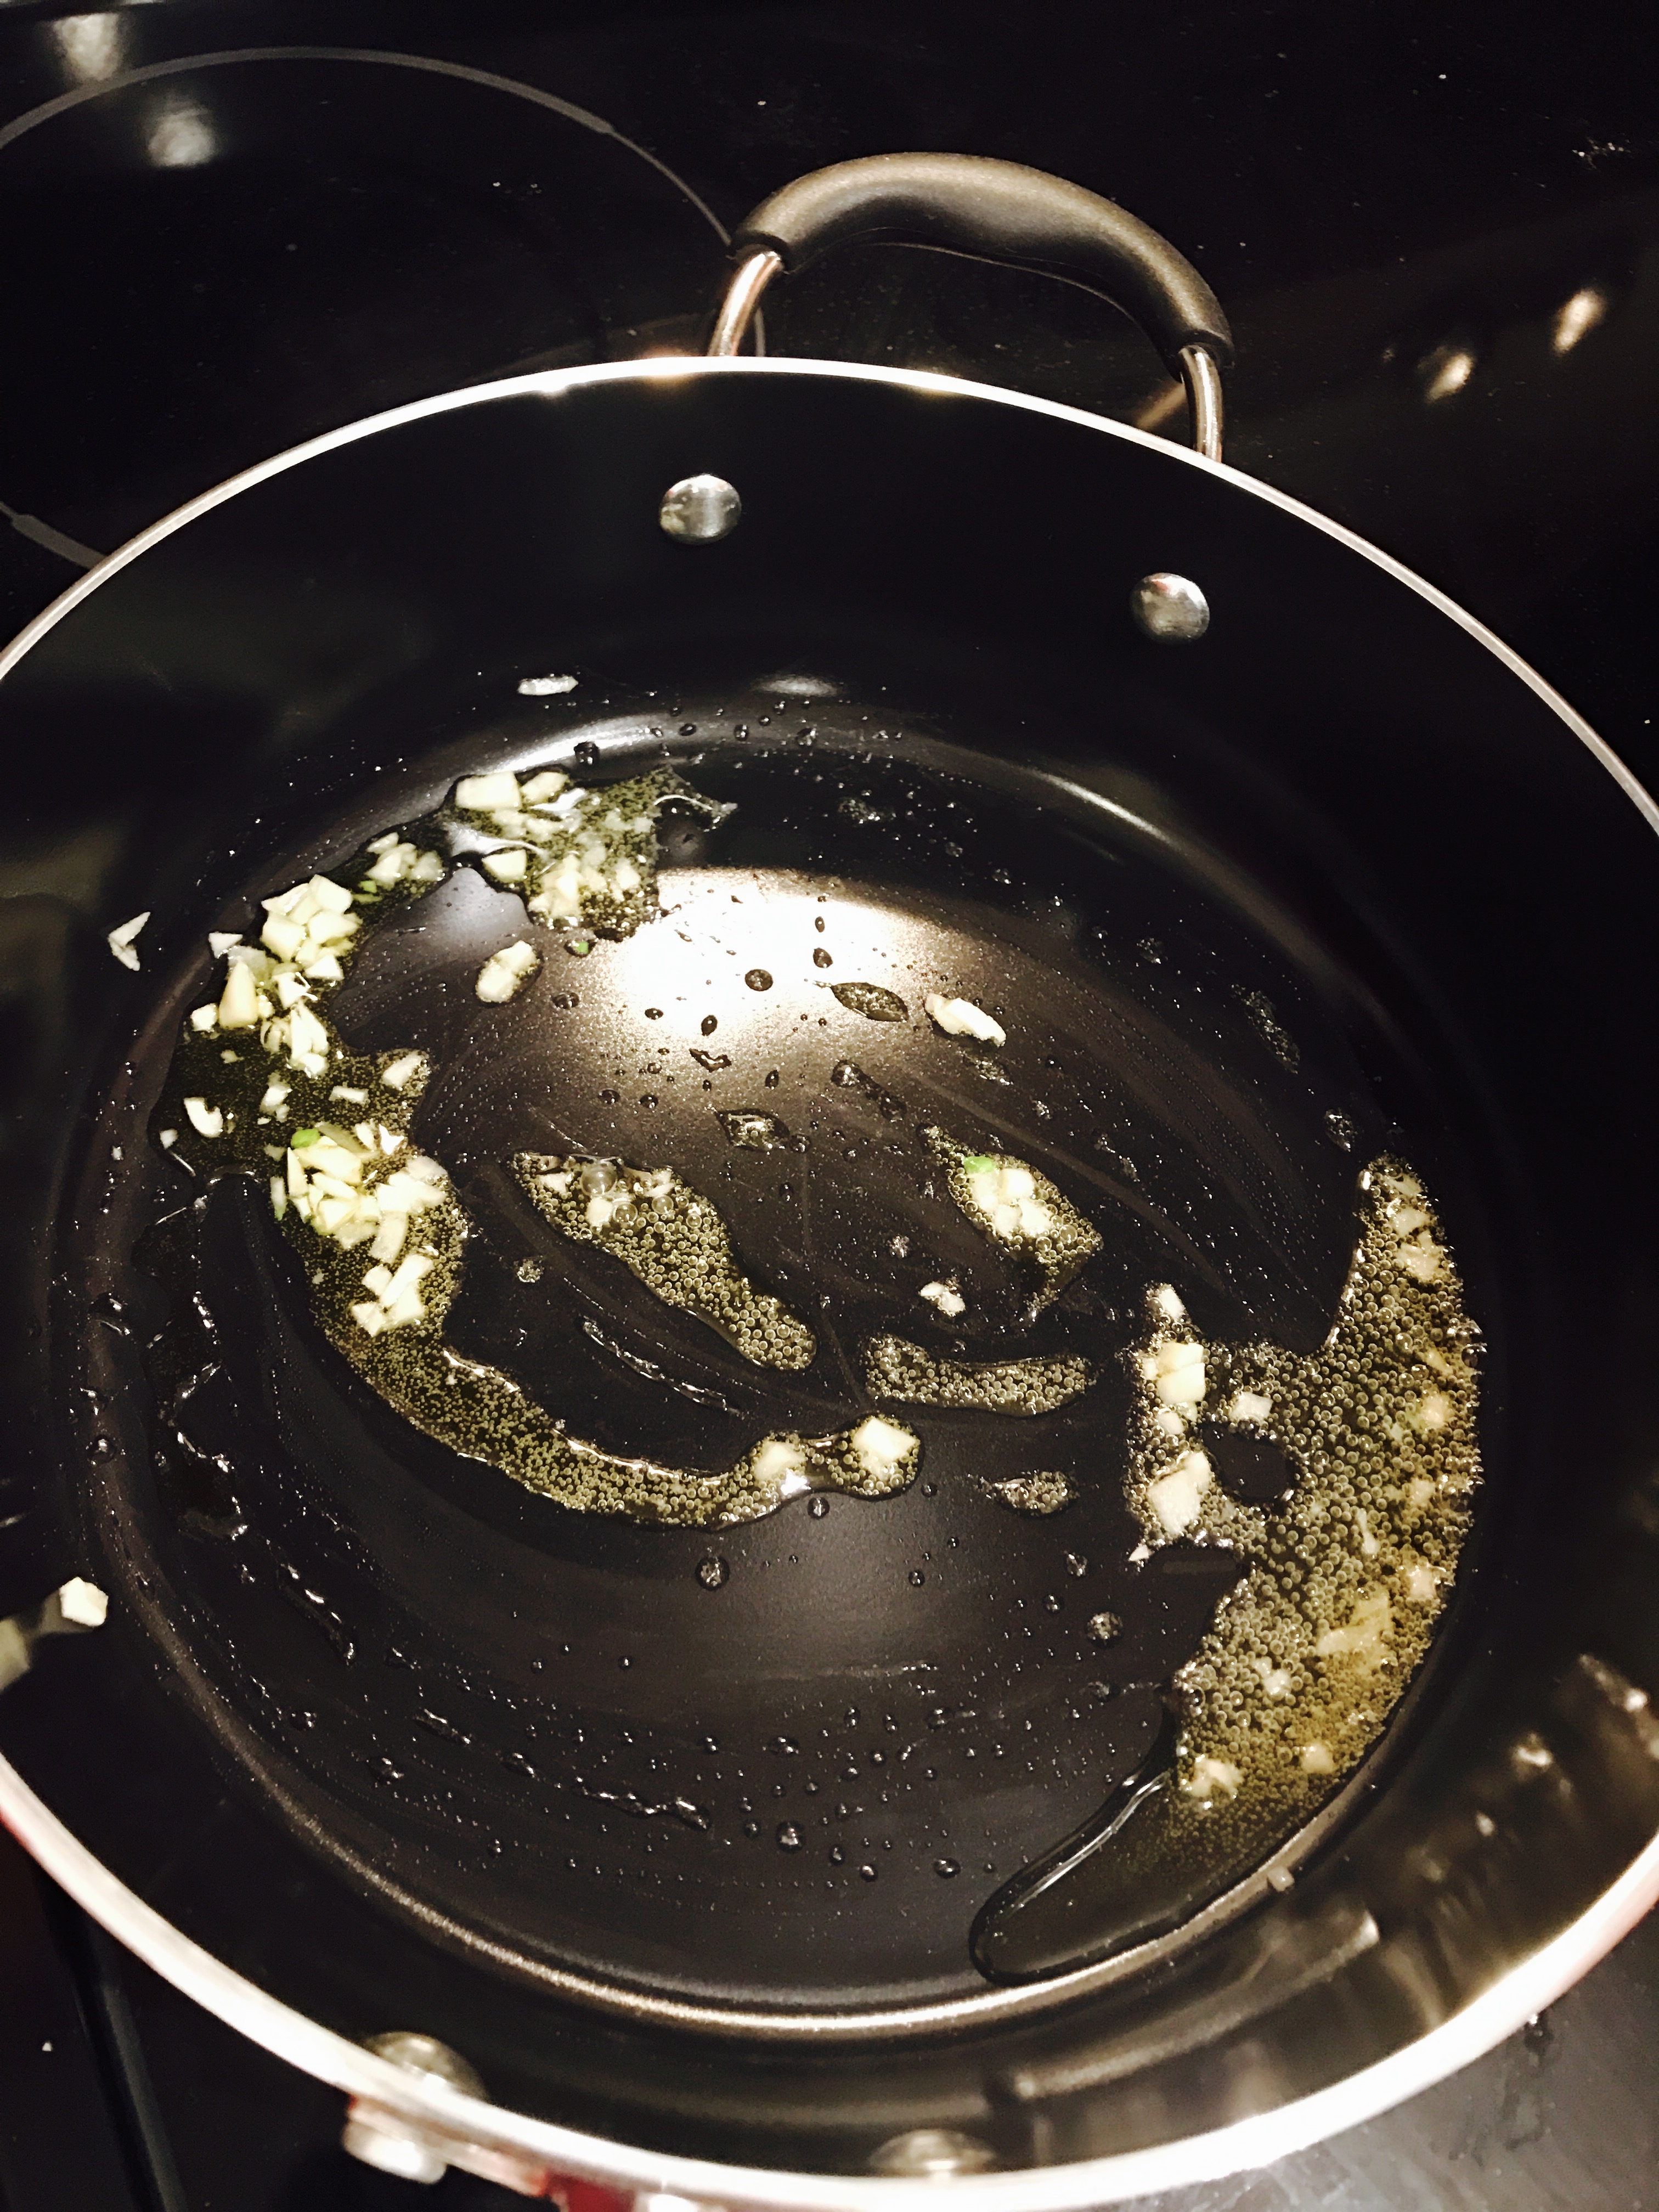
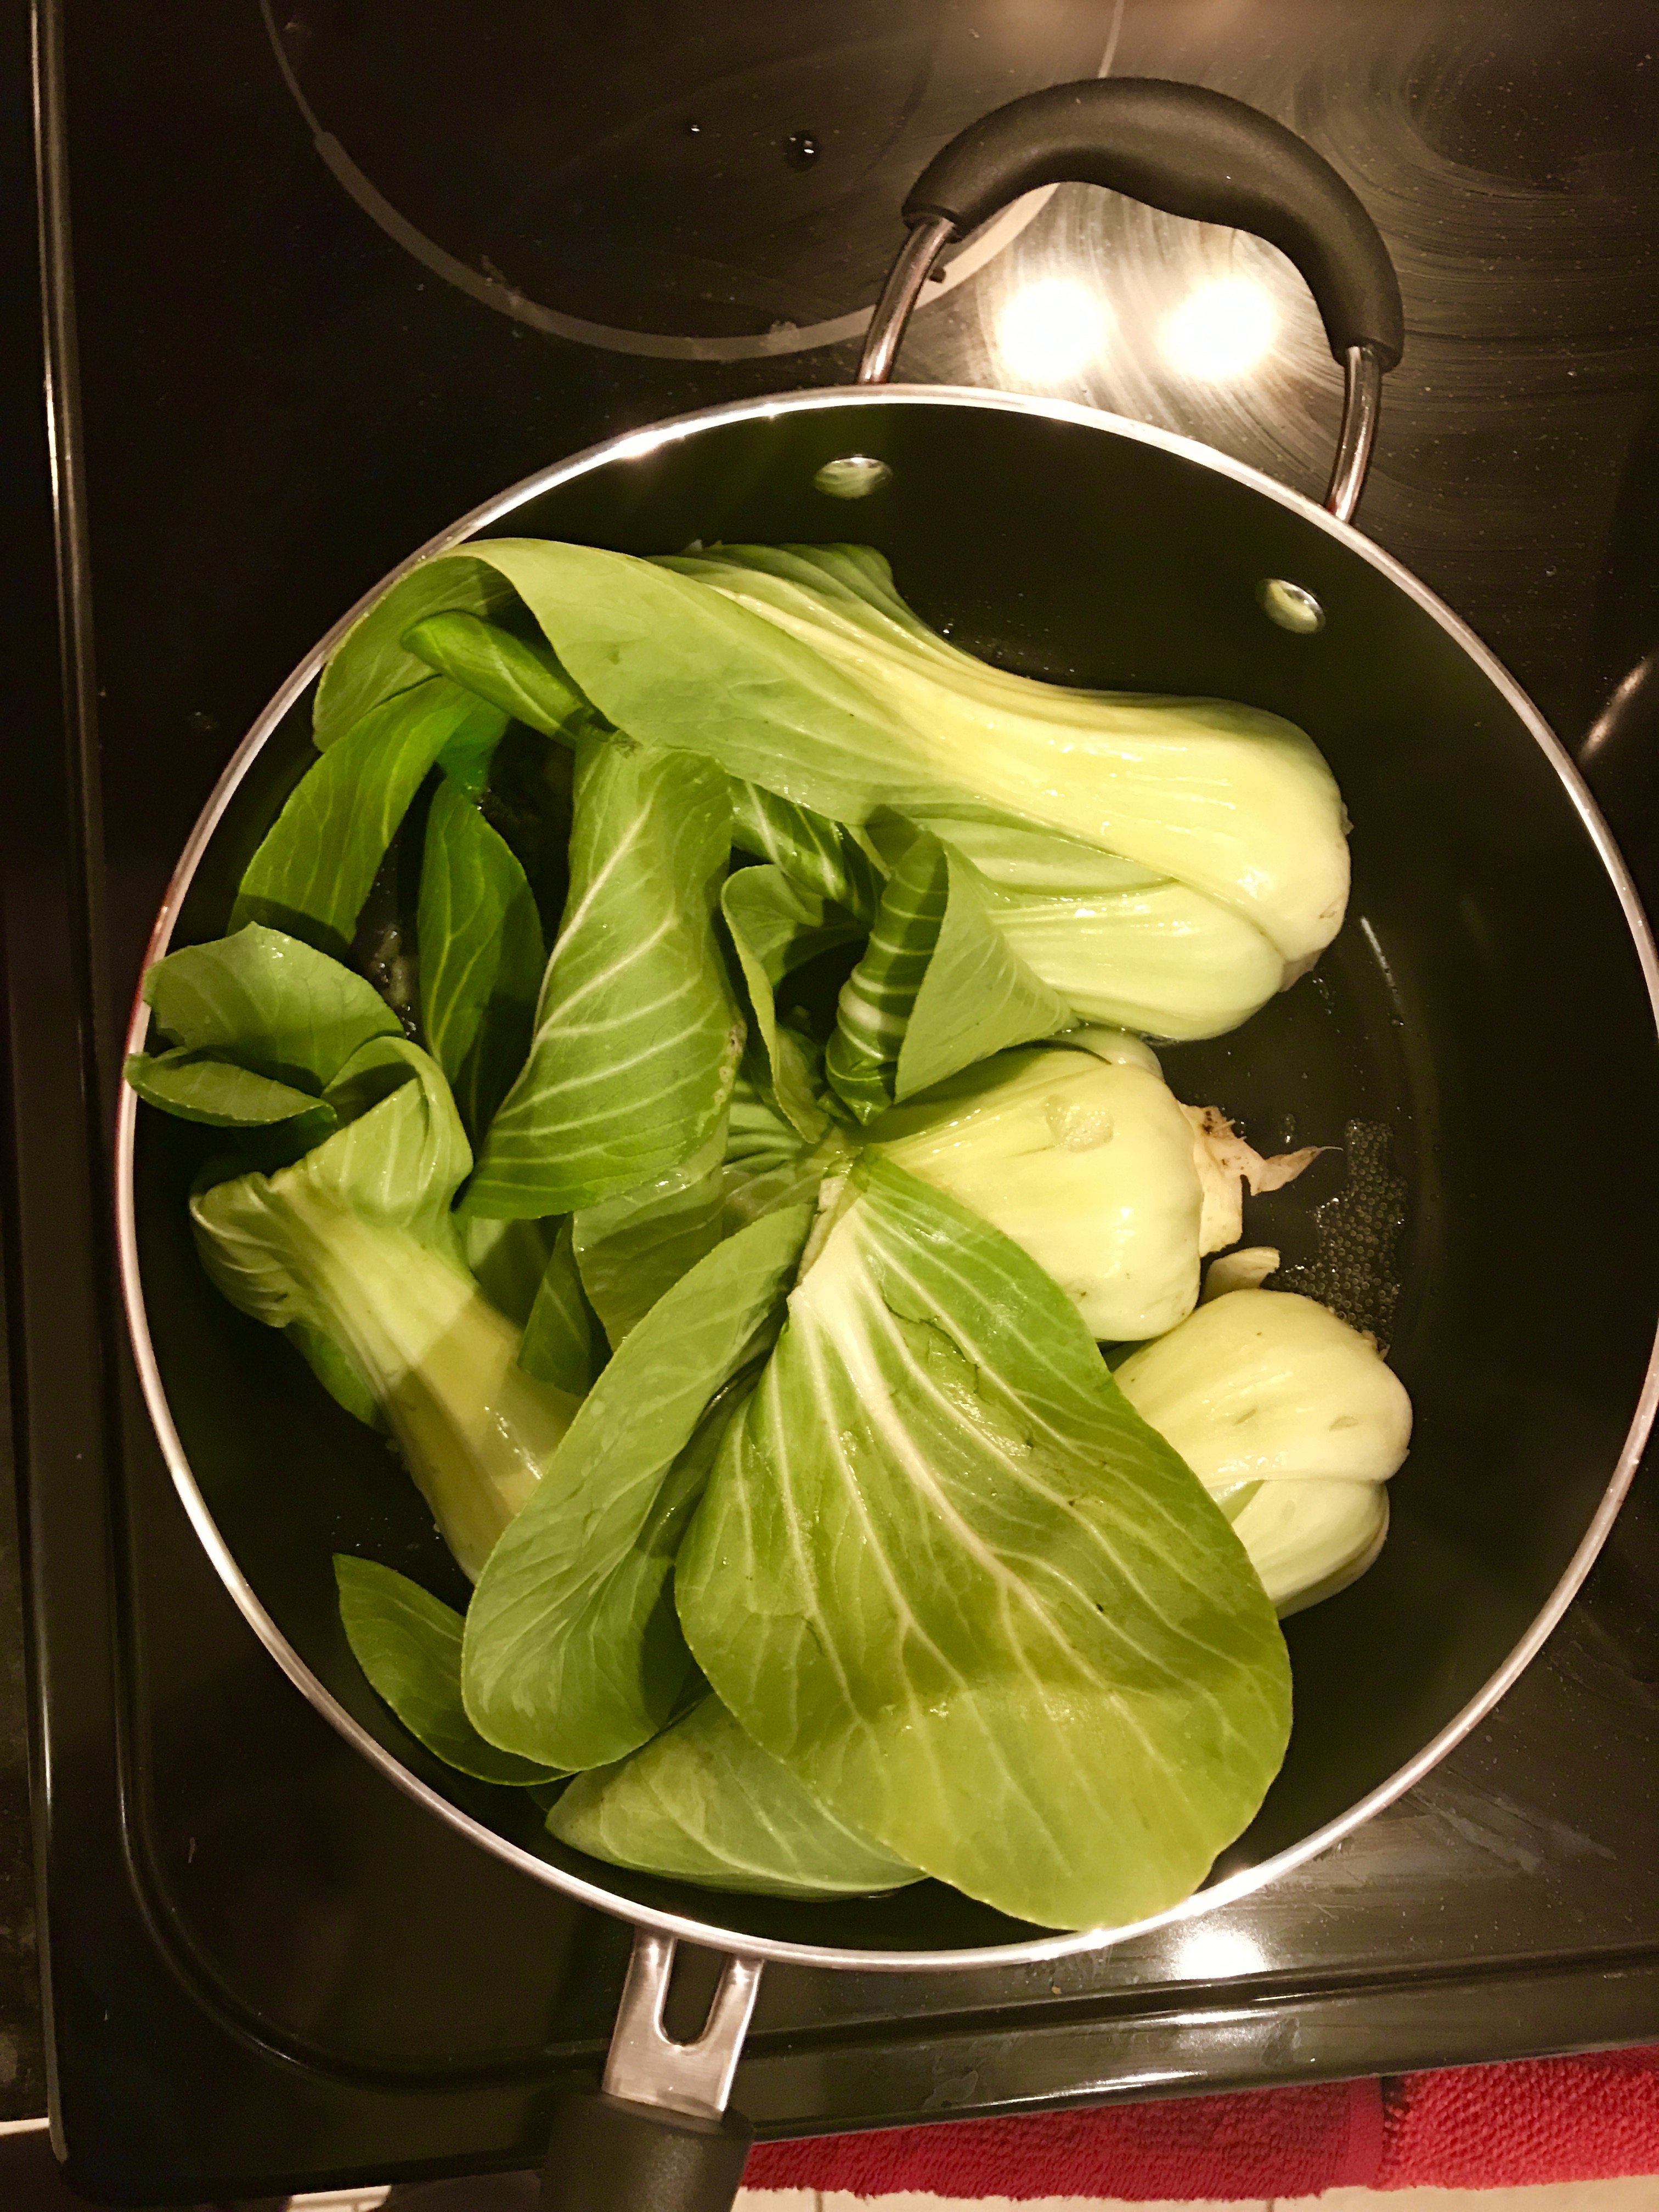
  1. In a large sauce pot, heat oil and gently brown shallots. And ginger and lemongrass. Cook till fragrant
  2. Stir in rice, water, coconut milk and salt. Cover and cook till liquid is absorbed. Discard ginger and lemongrass.
Check out the step by step tutorial!


Ankitha Gadag’s Spicy Chicken Stirfry

An Ankitha Gadag original recipe – learn how to make a super delish Asian inspired stirfry !

Hey guys, welcome to Ankitha Gadag Recipes!

This recipe gives me life, seriously. It’s the perfect weeknight entree or side and it’s great for getting rid of those veggies in the back of your fridge, going bad. You can throw anything you like in there, I chose to stick with the basics – bell peppers, broccoli and jalapeno peppers.

I am going to let you all in on a little secret. The secret to a great Asian-inspired stir fry lies in 4 basic ingredients – soy sauce (duh), rice wine vinegar, fish sauce, and sesame seed oil. These 4 ingredients paired together can make any stir-fry taste uhhhhmazing.  For more Thai style dishes, I always mix in some fresh Thai basil leaves. You can learn more about my obsession with them from one of my previous posts here.

Without further ado…


Ingredients:

  • 1 lb Chicken breasts (cut against the grain, into strips – this is important!!)
  • 2-3 jalapeno peppers (thinly sliced)
  • Veggies of your choice (broccoli,  bell peppers)
  • 1-2 cloves garlic
  • 1/2 inch ginger scraped
  • fish sauce ( few splashes )
  • rice wine vinegar ( few splashes)
  • sesame seed oil (few splashes)
  • soy sauce (1 cup)
  • lightly dusted Arrowroot Starch
  • S & P
  • toasted sesame seeds (optional)
  • thai basil leaves (optional)
  • 1 cup chicken broth


  1. Pat chicken breasts dry, cut against grain into strips. Add S&P and dust with arrowroot starch
  2. In a small bowl, whisk together the broth, fish sauce, soy sauce, vinegar, and sesame seed oil
  3. Warm a wok or large frying pan over medium-high heat and add the oil. Add the chicken and stir–fry for 5 minutes until lightly browned.
  4. Add the veggies and cook an additional 5 mins. 
  5. Whisk the sauce once more and pour it into the pan. Bring liquid to a boil and let simmer until it reduces by half, about 3 more minutes.
  6. Stir in the basil and cook until it is just wilted.
  7. Serve immediately.

For step by step deets, check the video below:

As always, thanks for watching. See y’all next time.

XOXO,

Ankitha Gadag

Smoked salmon stuffed Curd rice – Ankitha Gadag Recipes

A fusion of South Indian and Mediterranean Cuisine!

At Ankitha Gadag Recipes, we love putting spins on traditional flavors. What happens when you take two exotic cuisines and combine them in a plate? Flavor BOMB people, that’s what. Here we have a traditional smoked salmon dish with capers that one would consider very Mediterranean combined with South Indian yogurt rice or fondly known as “curd rice.” Check out the recipe below at one of my favorite blogger’s site!


Curd rice/ Thayir sadam is more often eaten by the south Indians as a part of meal. Rice and yogurt are the 2 main ingredients that go towards making this. It is called as thayir sadam in kerala. Yogurt rice can be made in different ways. I am sharing this with bit of fusion of…Read…

via Smoked salmon stuffed Curd rice / Thayir saadam. — keralaslive

Sesame-Garlic Baby Bok-Choy

Ankitha Gadag original recipe for an easy week-night side dish!

Welcome back to Ankitha Gadag Recipes, home of authentic, exotic recipes curated by yours truly – Ankitha Gadag. For all you first timers to the blog, thank you for visiting. I hope you find a recipe that will help you fall in love with food as much as I have! Today’s recipe is an Asian inspired dish, that would work best as a side to a delicious Thai/Chinese/Japanese entree. I personally paired it with Pad-Ka-Prow (recipe coming soon!) a street-side northern Thai dish, and the flavors blended perfectly.

This was actually my first attempt at cooking bok-choy. It is one of those vegetables that is really difficult to mess up. It soaks up all the flavors of the marinade wonderfully. Plus, with only 3 ingredients making this recipe, it is SO EASY to make! It’s great for a week night dinner after a long day, when you don’t want to spend more than 10 minutes whipping up dinner.

Alright, without further ado…


Ingredients:

  • 2 baby bok-choy (cut in half, length-wise)
  • soy sauce (2 tbsp)
  • rice wine vinegar (2 tbsp)
  • sesame seed oil (2 tbsp)
  • garlic (1-2 cloves)

ankitha_gadag_seasoning


Preparation:

  1. Heat up some oil in a pan, flavor the oil with your crushed garlic clovesankitha_gadag_sizzlingoil
  2. Add your cut bok-choy into the pan face down, and cover for 2-3 mins. ankitha_gadag_boyankitha_gadag1
  3.  Now prepare your marinade, using the sauces from the ingredientsankitha_gadag_choy
  4. Add marinade to your pan and saute together for about 1-2 mins
  5. Serve!


How easy is that? 5 steps, 3 ingredients. Give it a try and let me know what you think!

-Ankitha

Ankitha Gadag’s 2-Step Basil-Parsley Pesto

An Ankitha Gadag original recipe for a super easy pesto

I absolutely love pesto. Not only is it simple and quick to make, it is one of the most versatile recipes ever! Why would anyone ever buy pre-packaged pesto when it is such a cinch to make?! By making your own pesto, you can avoid all the artificial preservatives that come with most store bought products. The recipe I’ll be sharing today is an Ankitha Gadag original recipe! The key here is of course the fresh basil & garlic, but as you will see, every other ingredient can be a concoction of your favorite herbs, nuts and spices.

You can use pesto with pretty much everything. I use mine with eggs, pasta, as a spread in a sandwich, or even as a sauce to a good steak (it’s the italian chimichurri ;))

For this recipe you will need:


Ingredients:

  • Parsley (1 bunch)
  • Basil (1.5 bunch)
  • Garlic (1 bulb)
  • Nuts (1 cup of your choice, I prefer cashews or pine nuts… you can use almonds if you want to keep it healthy)
  • Parmesan cheese (1 cup)
  • Serrano (1)
  • S&P to taste
  • Olive Oil
  • lime juice to taste

ankitha-gadag-basil-pesto

Steps:

  1. Add all ingredients except olive oil into your blender ankitha-gadag-pesto


  1. While blending, slowly pour olive oil until it reaches a thick, creamy consistency

ankitha-gadag-vitamix

Enjoy!

Ankitha Gadag original recipe- Easy Curried Tofu Scramble

An easy recipe for a Sunday brunch recipe that’s all vegan!

As you may have picked up by now, I, Ankitha Gadag, am NOT a vegetarian or vegan or any variation of that. Ankitha Gadag is and will always be, a  (proud) Carnivore. No offense to anyone who is Vegetarian/Vegan/Other, but I am still primitive in the sense that my hunter-gatherer ancestors and I had one thing in common – our love for MEAT!!!!

That said, this recipe will blow you away. It’s dairy free, vegan, vegetarian, etc and it still tastes delicious. I had to get creative when cooking brunch for a vegetarian friend (FYI, brunch options get REALLY limited when you can’t use eggs…).

Anyways, I hope you guys enjoy it. It’s relatively easy to make and  needs few ingredients!

Ingredients:

  • 1 package of firm tofu, drained and pressed
  • 3/4 can of coconut milk
  • 1 tbsp of ginger
  • ½ onion, chopped
  • ½ onion, chopped
  • 1 large garlic clove, minced
  • ¼ red bell pepper
  • 4 white mushrooms
  • ¼ teaspoon white pepper
  • 1/2 teaspoon curry powder
  • 2 tablespoons chopped parsley
  • 1 tablespoon olive oil
  • ½ teaspoon of salt
  • Lemon zest
  • Paprika
  • 1 serrano pepper

    1

ankitha_gadag_veggies_tofuankitha_gadag_tofu_stirfryankitha_gadag_curryankitha_gadag_tofu_curryankitha_gadag_tofu_scramble

Method:

  1. Saute onions, garlic, ginger and sliced serrano pepper in some olive oil to let out the flavors
  2. Add in the bell peppers and mushrooms and let it cook till soft
  3. Add in tofu and coconut milk
  4. Add in your spices
  5. That’s it! Scoop up some and serve hot.


Hyderabadi Achari Murgh Recipe – (Pickled Chicken Curry)

Spicy Hyderabadi Chicken Curry with tangy pickling spices

Okay guys, so this curry is truly a GEM and an Ankitha Gadag original recipe. I promise you, reactions will be nothing short of jaws-dropping if you decide to put in the work to give this a try!

For one, this recipe has taken a few weeks to perfect. I was first inspired to re-create this curry after tasting the most amazing Achari Chicken Curry at a local Hyderabadi restaurant. It was unlike anything I ever tried before – it was tangy, it was spicy, truly tantalizing your taste buds in every way. Of course I had to dig further and put my skills to the test.

Turns out Achari (Pickle) Murgh (Chicken) Curry actually originated in the Northern region of India (Punjab). Pickling of mangoes, limes and other vegetables would require a variety of spices all batched together for pickling. So, what do you do with the leftover spices? Make curry,  of course!

This curry has now been modified to fit South Indian taste buds (a.k.a – made spicier). Don’t fear, the heat is so well balanced with the unique flavors from the kalonji (onion seeds), fenugreek, and yogurt 🙂

ankitha-gadag-marinade-achari

On to the recipe!

You will need:

  • 1 cup curry leaves
  • 4 lbs chicken thighs
  • 10 thai chillies
  • 3-4 dried red chillies
  • 2 bay leaves
  • 3 onions chopped
  • Ginger-garlic paste (4 tbsp)
  • Kalonji (onion seeds)- 1 tbsp
  • Methi (fenugreek) seeds- 1 tbsp
  • Jeera (cumin seeds)- 1 tbsp
  • Saunf (fennel) seeds- 1/2 tbsp
  • Tomatoes- 2 (finely chopped)
  • Yogurt- 1/2 cup
  • Lemon juice- 2tbsp
  • Turmeric powder- 1tsp
  • Red chilli powder- 1 tbsp
  • Mustard seed oil – 1/4th cup
  • Pickling spices  – (you can get a pre-packaged packet of this) – 4 tbsp
  • Mango Pickles – (1 tbsp)

Phew, that’s a handful, yea?

Method:

  1. Start by marinating the chicken, you can marinate as long as 12 hrs or as short as 2. Add lemon juice, chillies, half of curry leaves, red chilli powder, turmeric powder, half of pickling spices, salt, yogurt, and mustard seed oil  to the chicken. Mix and set aside.achari-chicken-curry
  2. In some oil (about half cup), add the onions and fry until they are translucent. Add in curry leaves, dried red chilies, bay leaves, cumin seeds, fenugreek seeds, kalonji, and ginger garlic paste.ankitha-gadag-achari-chicken.jpg
  3. Add in the tomatoes and any remaining spices. Mix into the spices until soft.
  4. Add in the marinated chicken and cover on low-medium heat for about 30 mins
  5. The water from the chicken and yogurt should have formed a gravy. At this point add in the mango pickle.
  6. Stir and cover for an additional 30 mins
  7. Warm up some hot naan or some basmati rice and Serve!!ankitha-gadag-achari-chicken-curry-meal

Thanks for checking out my recipe. Let me know how you liked it!

-Ankitha Gadag

Chilled avocado & cucumber soup

Light, refreshing and creamy with cool flavors from mint and dill

You don’t normally think of soups in the summertime, especially not in Texas. However, this COLD cucumber and avocado soup hits the spot with its refreshing ingredients. It’s creamy, with a slight heat from the garlic & serrano. It gets layers of flavor from the fresh  dill and mint. Contrary to traditional hot soups, this chilled soup is absolutely delightful on a hot summer afternoon on the patio (margaritas recommended).

I was inspired to create this soup when a friend put me up to a food challenge. Her criterion was “cucumbers” and “chilled.” This was out of my comfort zone. Normally, my recipes pack heat from various spices and they normally involve a protein of some form. This was such a fun challenge, because it was so easy to make with relatively few ingredients that I would never think of combining. More than likely, most of these ingredients are already in your fridge.

Anyways, give it a shot (before the summer ends!), and let me know how it turns out 🙂

chilled-cucumber-soup

You will need:

  • 1 avocado
  • 1 serrano
  • 2 cloves garlic
  • 2 english cucumber (peeled)
  • fresh mint (1 bunch)
  • fresh dill (1 bunch)
  • 1 1/3 cups sour cream
  • 1 1/3 cups greek yogurt
  • 1 cup vegetable broth


cucumber-avocado-soup

Method:

  1. Combine all ingredients above in your blender.
  2. Puree to a fine, creamy texture
  3. Add salt, black pepper to taste. I topped off with some smoked paprika for a little kick 🙂

creamy-avocado-cucumber-soup

That’s it! Easy peeezzyyyy 🙂

Let me know how it turns out, would love to hear from you!

-Ankitha


How to make your herbs last longer!

This technique will help your herbs last over 2 weeks in the fridge!

I hate buying fresh herbs.

I mean, for nearly the same price as you would pay for an ounce of herbs in the refrigerated section, you can buy an ENTIRE PLANT. Kinda ridiculous, isn’t it? Dried herbs just don’t do the trick for me since they lack the robust flavor and plants die when you don’t water them… so I end up falling for the grand scheme – refrigerated herbs.

Sometimes, it truly makes sense to buy herbs, especially when they are hard to come by fresh. Take for example, Thai Basil. Extremely rare herb to find fresh, and can completely alter the taste of your Thai dish (if you’ve been cooking Thai all this time without FRESH Thai basil – you’re not doing it right, FYI)

Recently, I came across Thai Basil at the local Central Market, and  I was thrilled to say the least. I grabbed the remaining bunches and brought them home to save for another week, without the fear of them dying on me.

Normally, herbs last 4-5 days in the fridge (if you’re lucky). With this technique, I have had herbs last me for over 2 weeks.

Lets get started!

Fresh-Thai-Basil
Look at this beauty…

  1. Start by prepping your fresh herbs. This means, remove all the dead leaves and pat them dry.
  2. Find a nice little container to fit them. Nothing fancy, but nothing you will need any time soon. Fill it up with 3/4th’s water Thai-Basil-storage
  3. Now find a plastic bag to cover. You can normally use the same plastic bag that came with the herbs in the grocery store. Loosely cover the herbs with the bagRefrigerated-thai-basil
  4. Voila! Now you are ready to refrigerate your bouquet of herbs until you use them next.


Hopefully, this helps increase the longevity of your fresh herbs! Let me know how long you manage to make them last 🙂

Thai Green Curry Chicken

Thai food is my second favorite cuisine (next to Indian, for obvious reasons). The dishes have complex layers of flavors that are packed with heat, saltiness, tanginess and subtle sweetness.

Luckily, not all of this complexity needs to be made from scratch. A lot of the ingredients used in a traditional green curry paste are rare and hard to find. This is why I will be sharing ready made, all natural sauces and pastes that you can “cheat” with.

Ingredients:

Method:
  1. Heat up some coconut cream (about 1/4 th cup). The coconut cream naturally floats to the top of the can if you don’t shake it
  2. Blend the chilies, garlic and ginger into a fine paste
  3. Once the milk starts to boil, add in the green curry paste and the chili paste from step #2
  4. Once it cooks in, the oil starts floating to the top. At this point, add in the chicken
  5. Cook until opaque. Then add in the rest of the coconut milk
  6. Boil for a bit, now add in the soy sauce and the sweet basil chili paste. The soy sauce makes a great substitute for the salt, so you don’t need to add any additionally
  7. Add in the quartered thai eggplants
  8. Cook for a few mins, and add in the fish sauce. This is up to your taste, but it gives the curry such a great flavor so I tend to go overboard with it. I use up to 4 or 5 tbsp, but you can use less if you prefer
  9. Serve with thai basil leaves as a finishing touch. This is rather hard to find, especially when it’s out of season. I used cilantro as a substitute and sprinkled some lime juice for additional flavor!
  10. Enjoy!
Pro Tip: When you cook the jasmine rice, throw in about 2 tbsp of butter and a sprinkle of salt. I promise it makes all the difference 🙂
Leave comments and share please…
%d bloggers like this: